PLEASE NOTE: If You Are Experiencing Any Errors For Orders Greater Than 150 LBS, Please Contact Us Directly (775) 391-0778 for LTL Shipping Quote.

Worldwide Shipping
Next Day Freight Available
Warranties & Refunds
Quality Support
775-391-0778
Safe Payment
Secure online payments
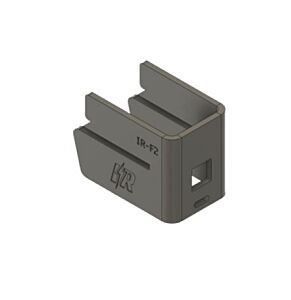
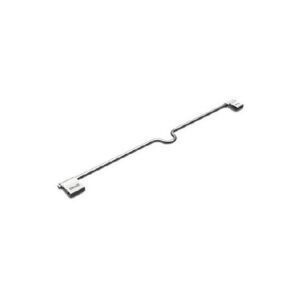
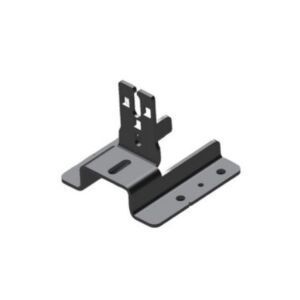
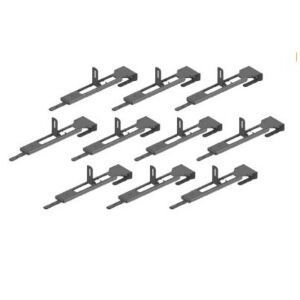
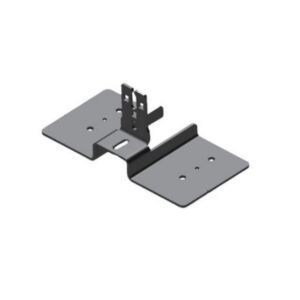
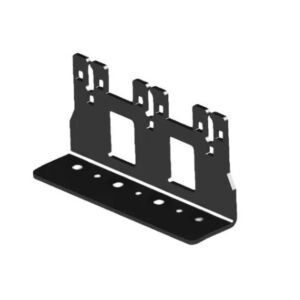
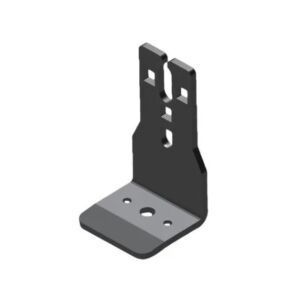
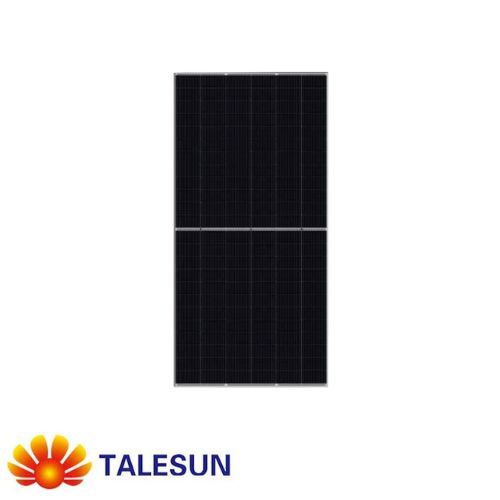
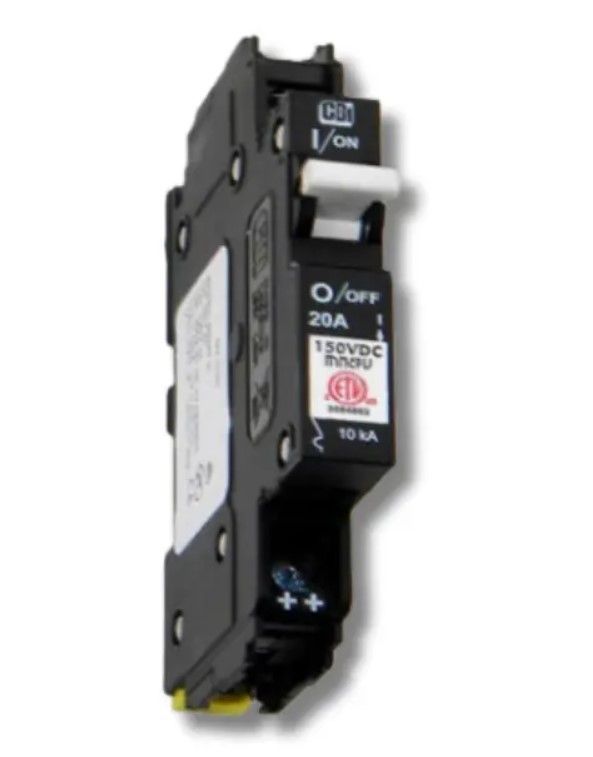
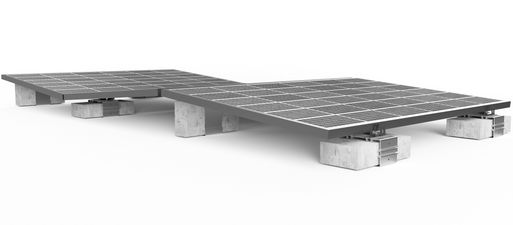
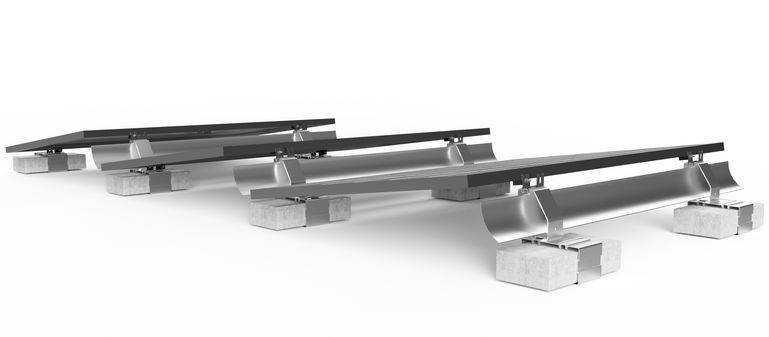
FEATURED PRODUCTS


CREATE YOUR SOLAR SYSTEMS.
YOUR WAY
Build your DIY solar systems and electrical systems. Call 775-391-0778 for support.
KNOWLEDGE CENTER
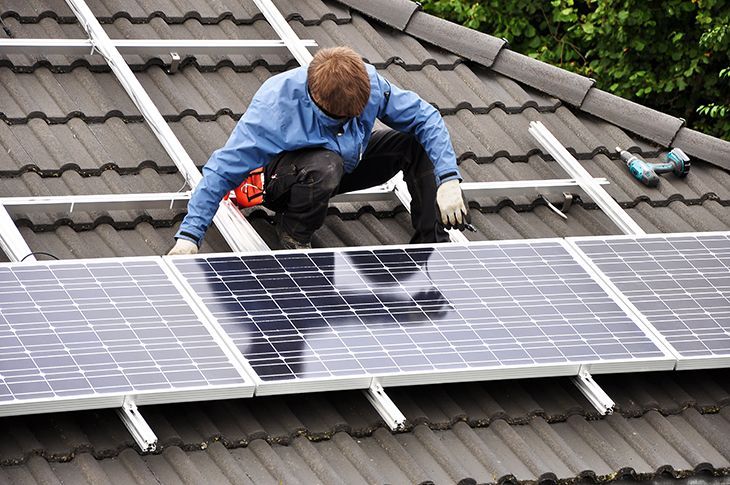
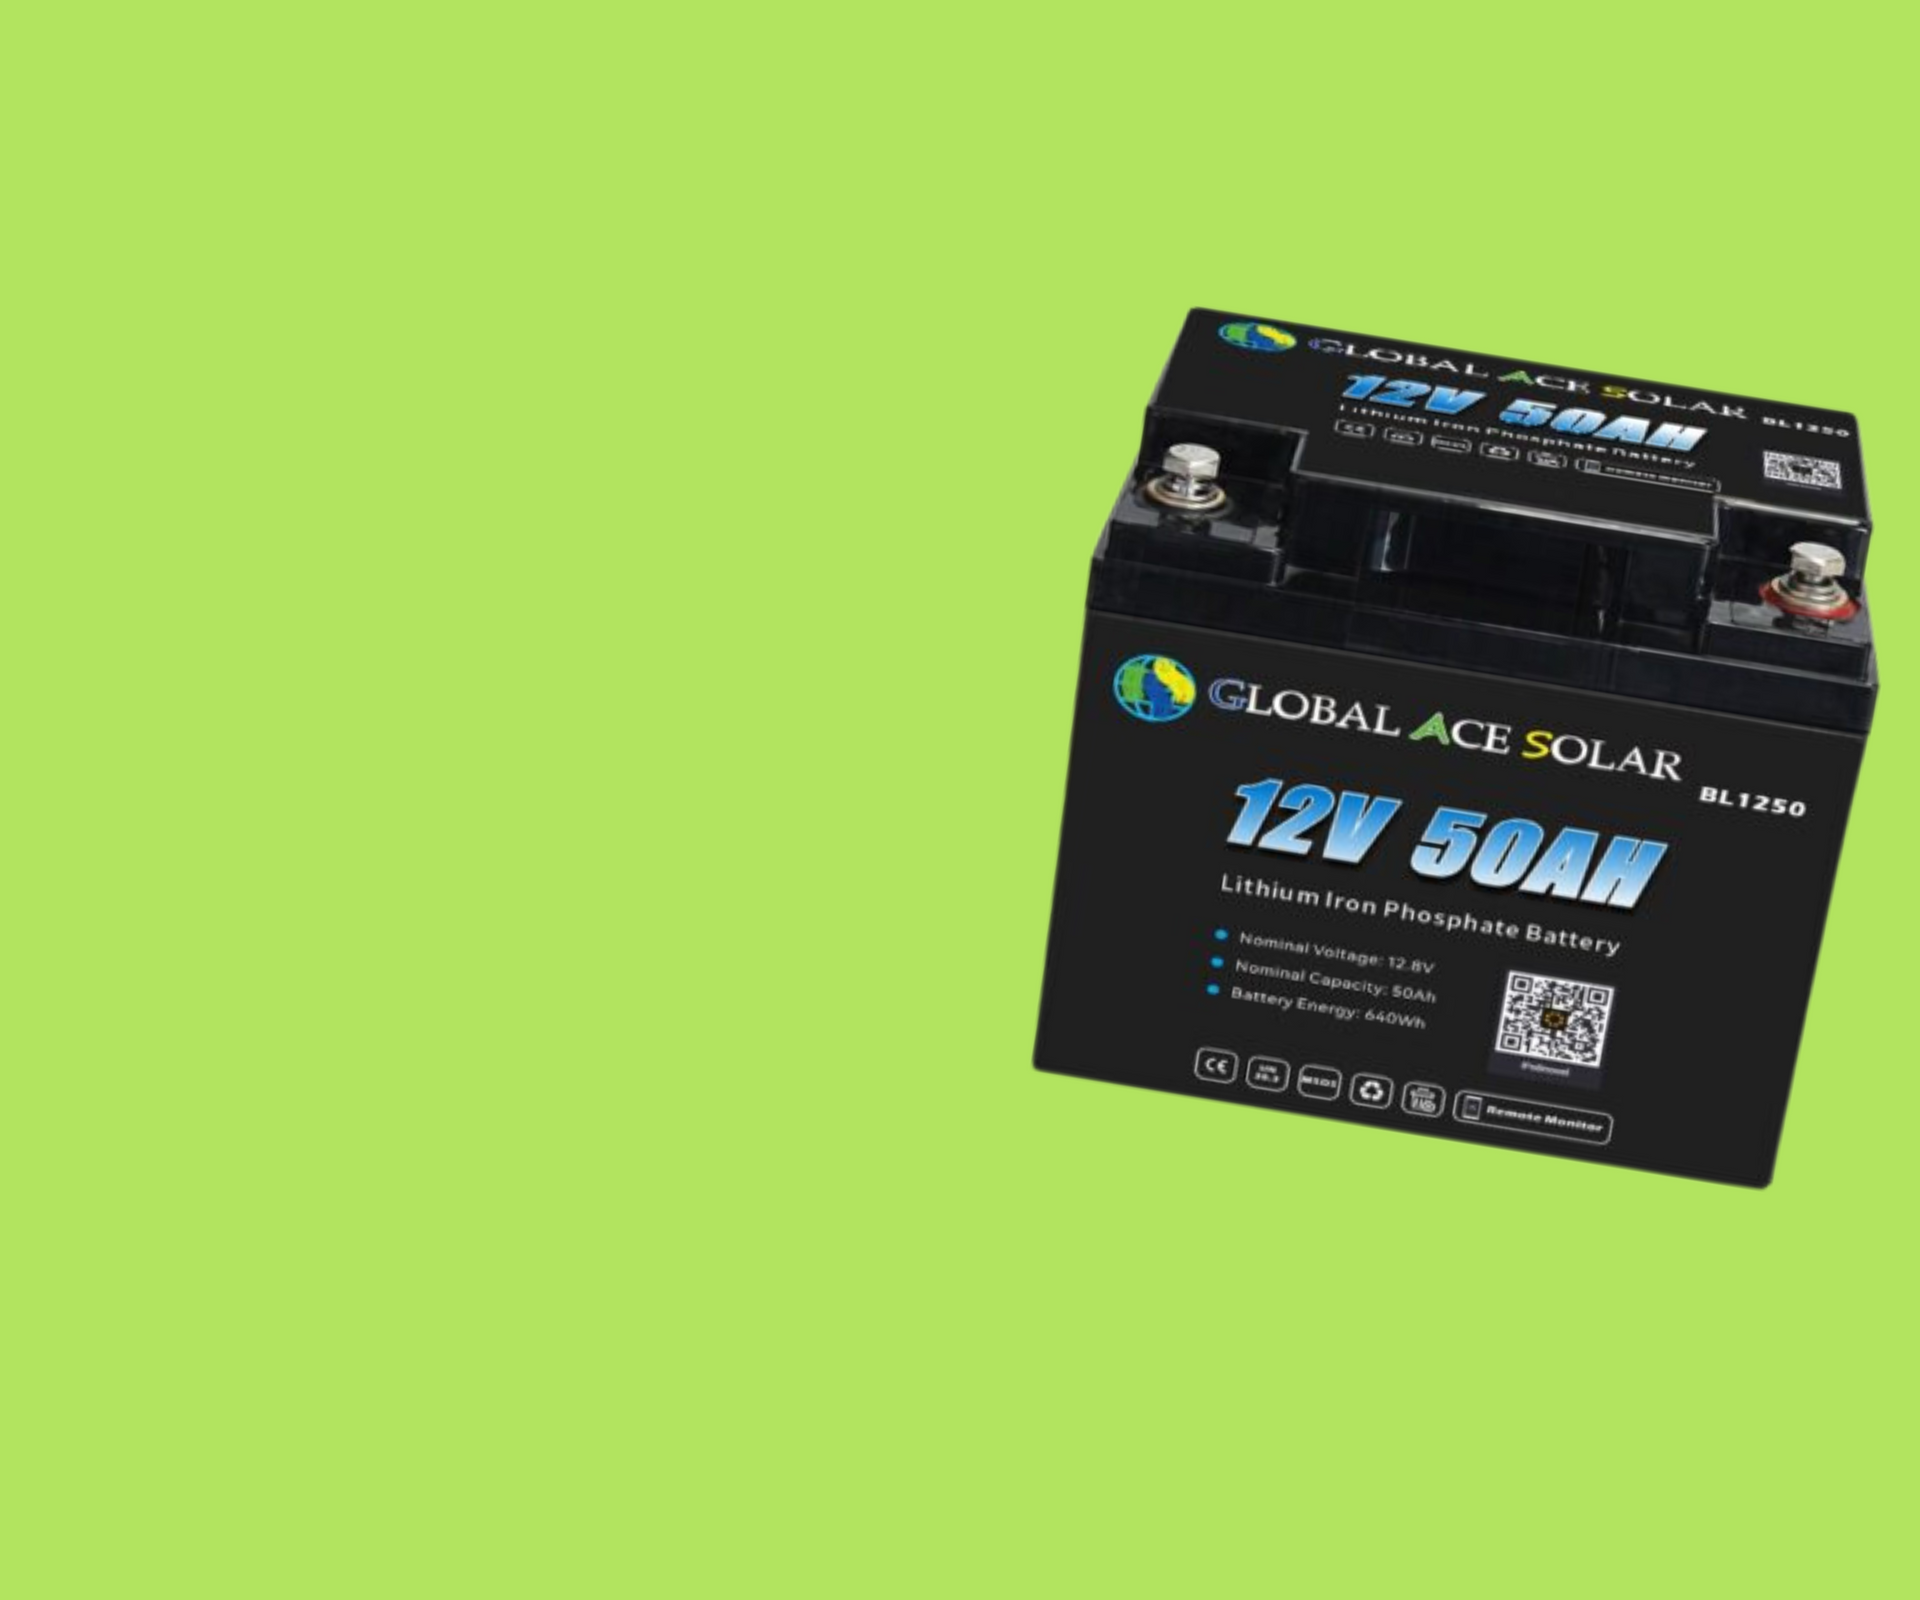
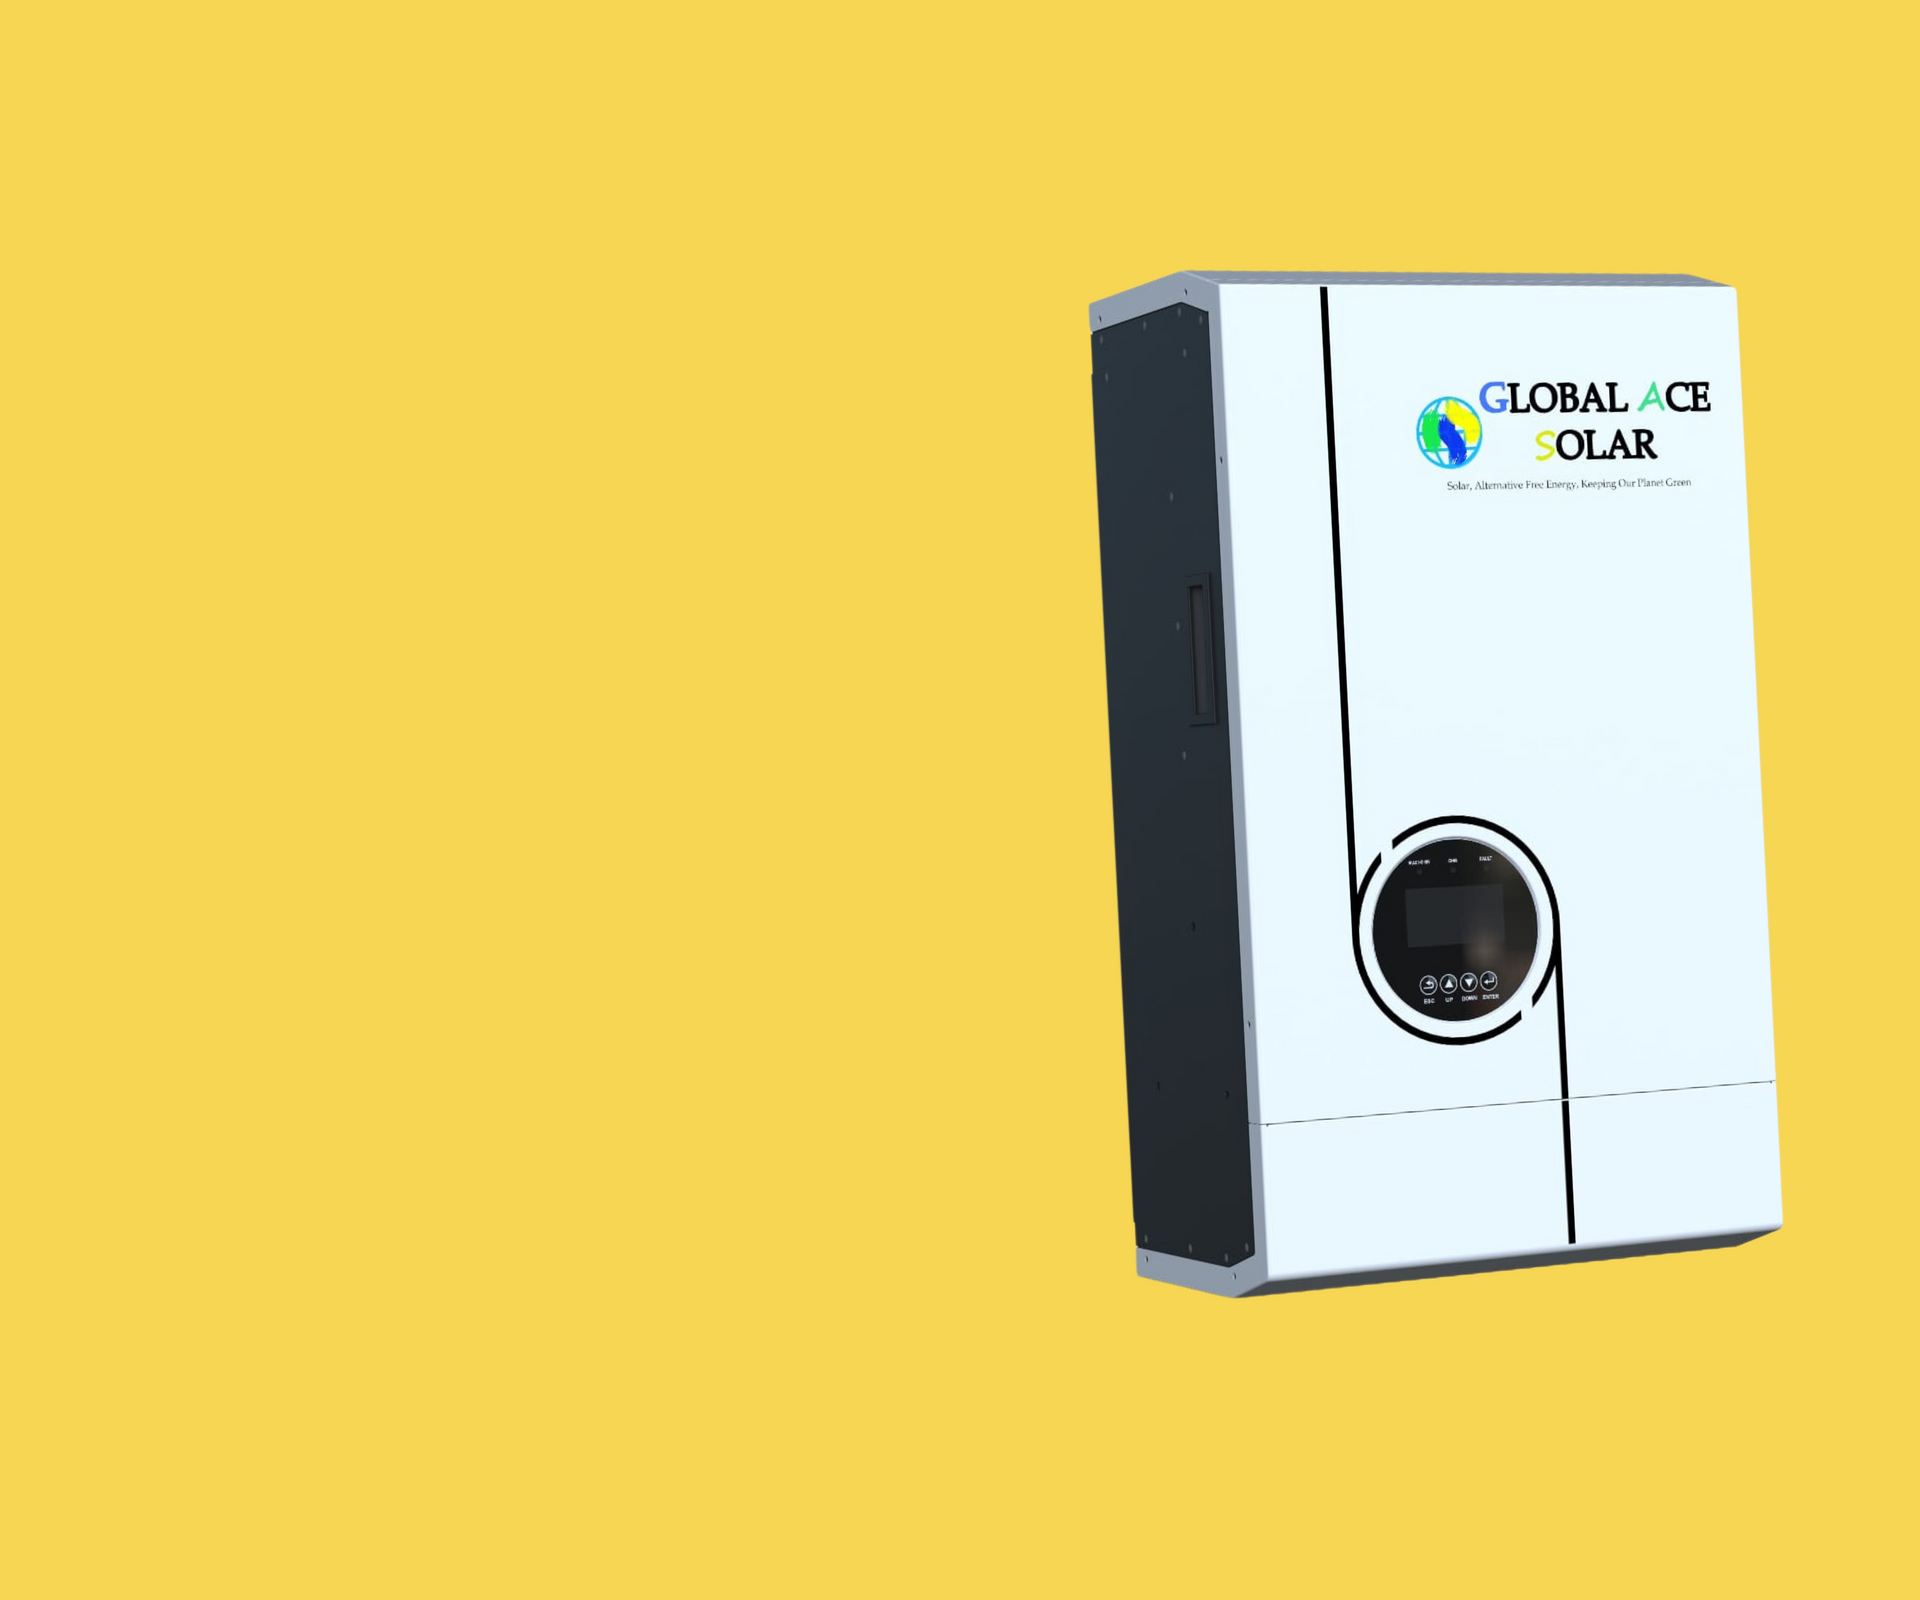
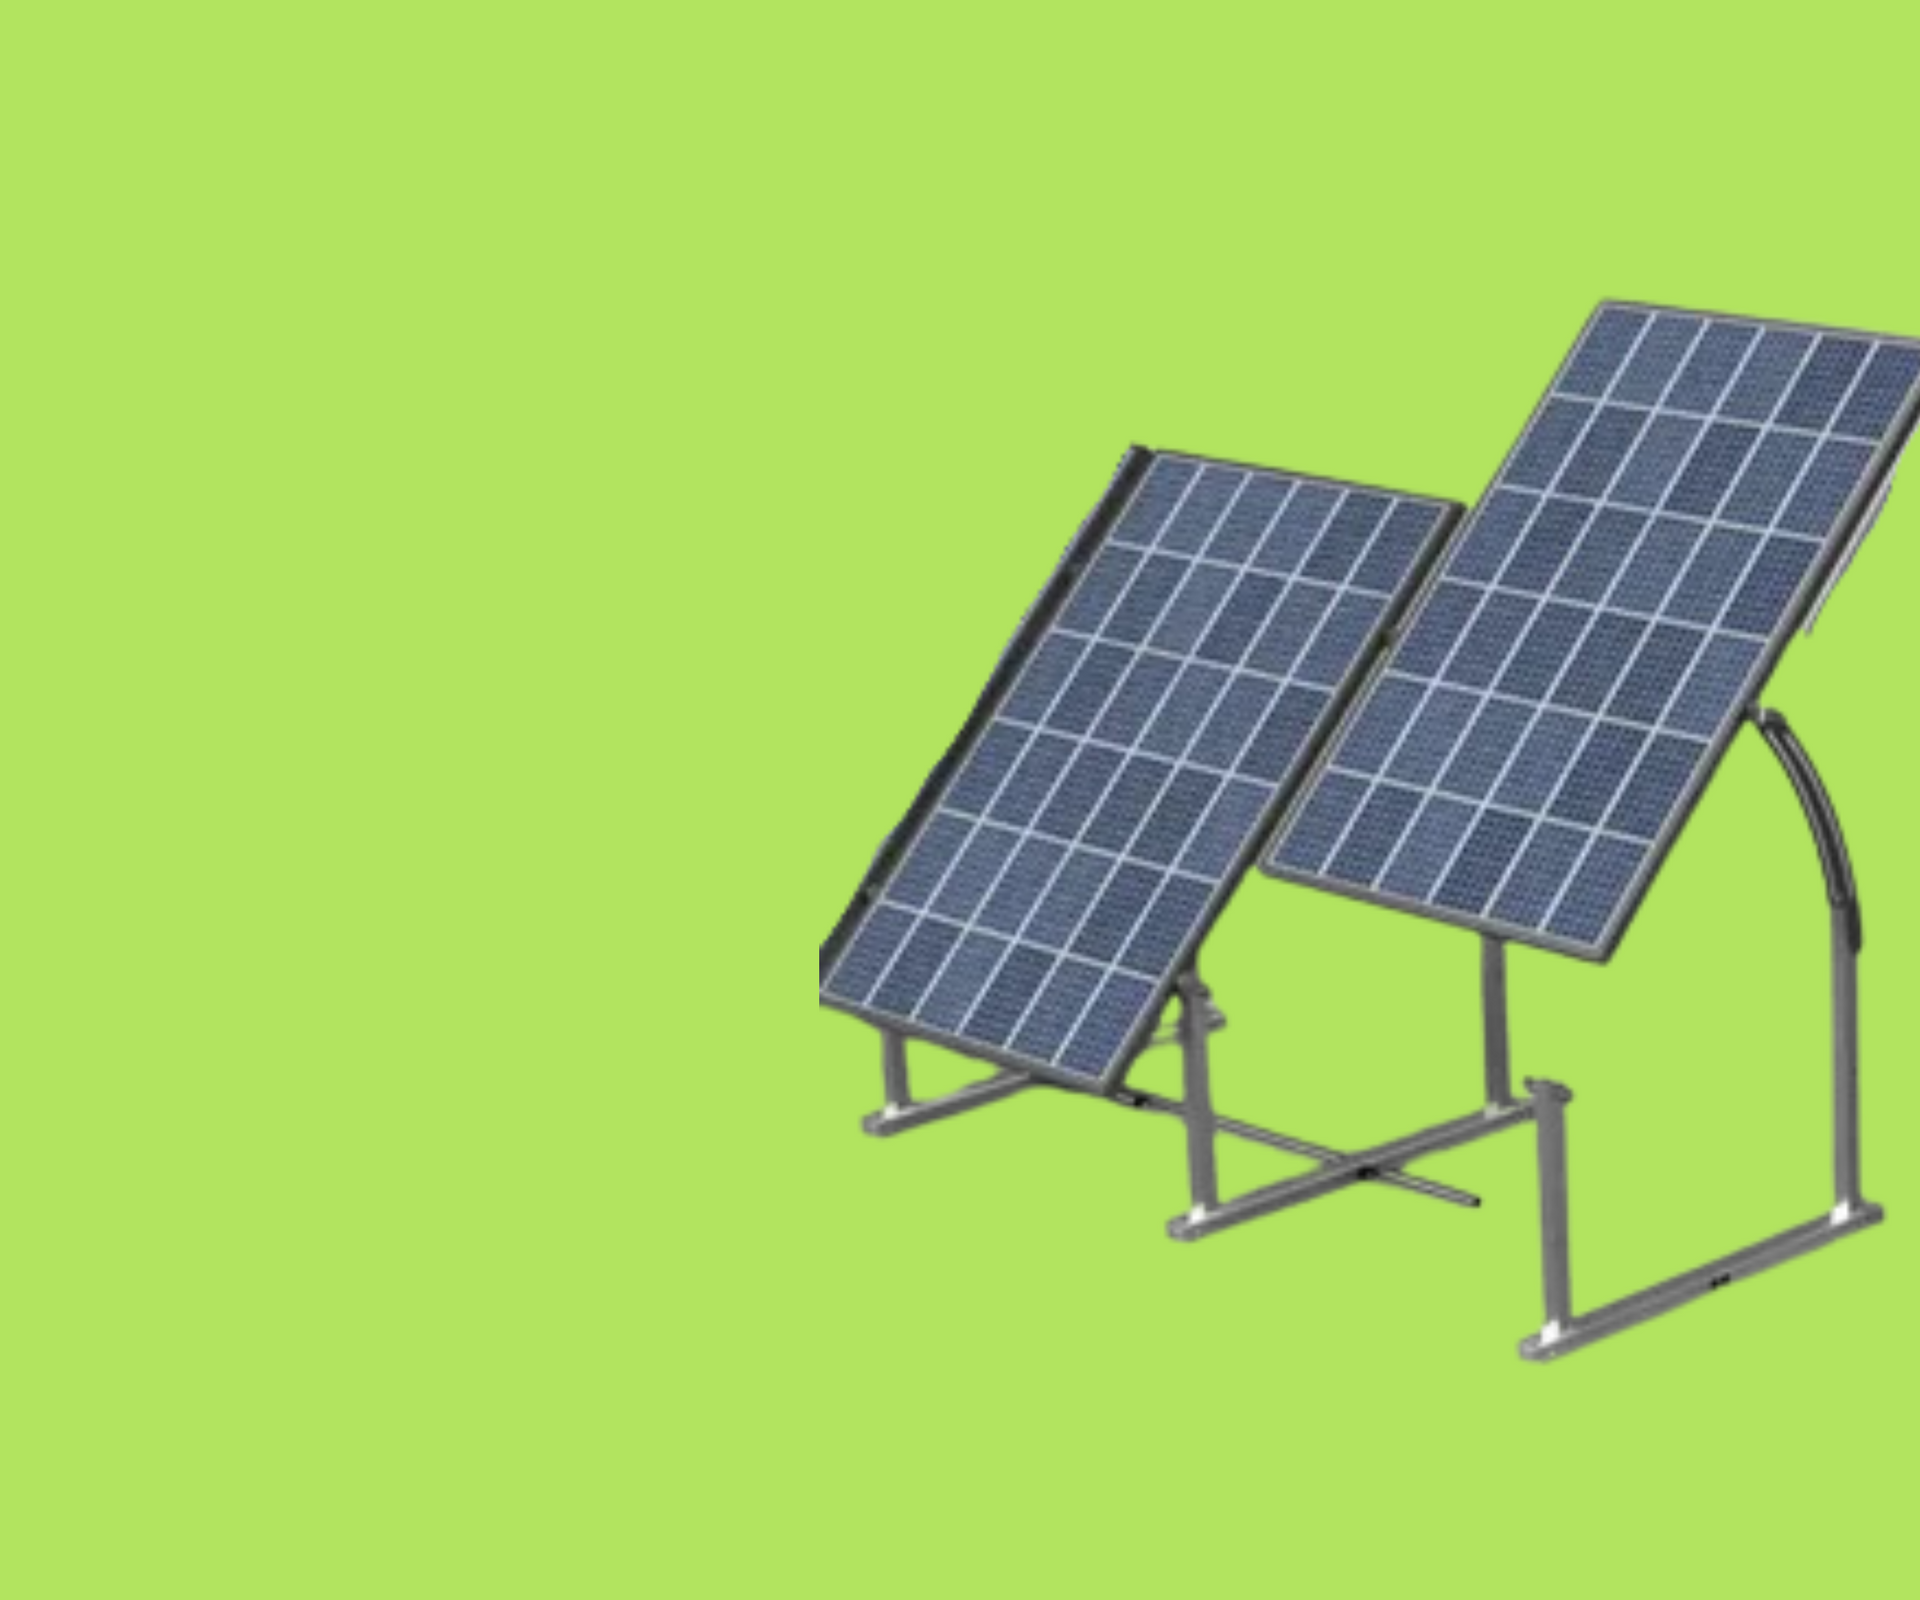
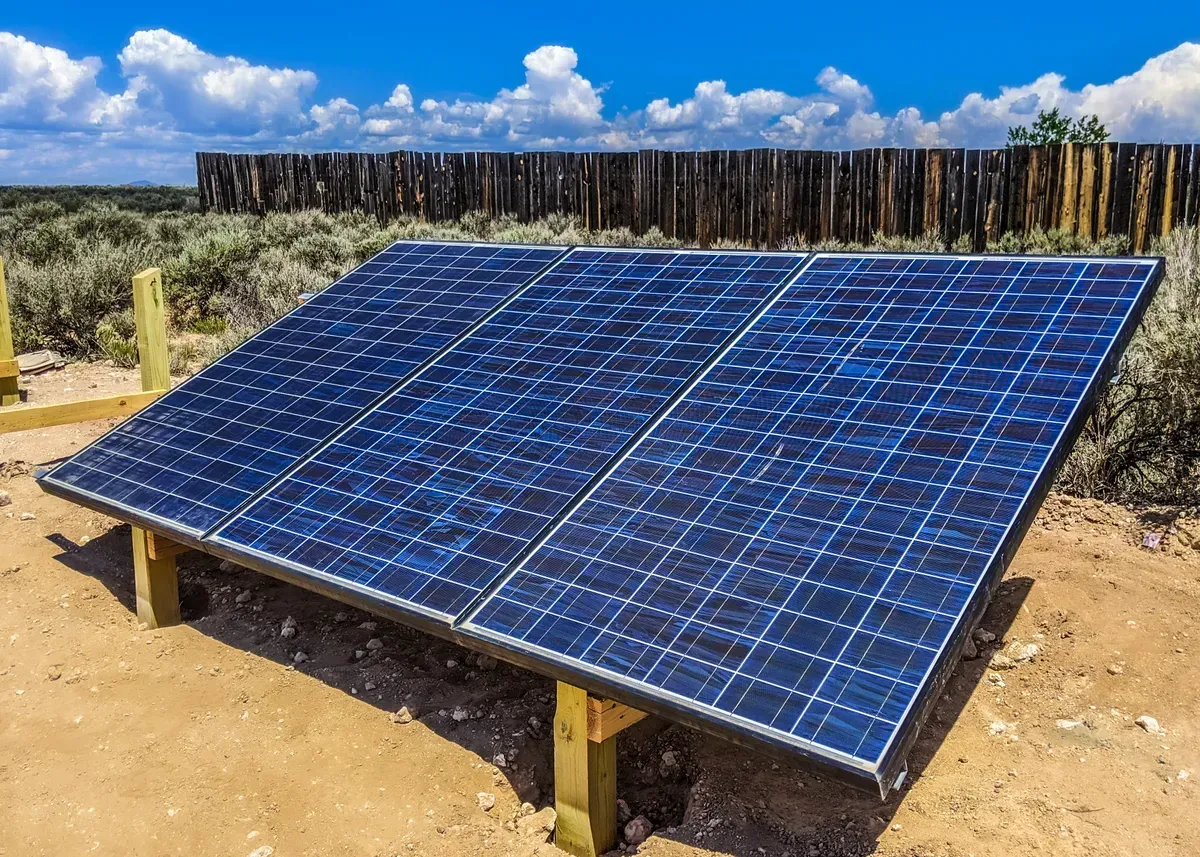
Switching to solar power is a smart investment, but simply installing a DIY solar power system isn’t enough to guarantee maximum energy output. Proper installation and ongoing maintenance are key to ensuring that your system performs at its best. In this article, we’ll walk you through several tips and strategies to help you get the most out of your DIY solar power system, maximizing both its efficiency and lifespan. 1. Optimize Solar Panel Placement The placement of your solar panels is one of the most critical factors affecting the efficiency of your system. Solar panels rely on direct sunlight to generate power, so finding the optimal location is essential. Face Panels South (in the Northern Hemisphere): For most homes in the Northern Hemisphere, south-facing panels receive the most consistent sunlight throughout the day. Ensure that your panels are angled correctly for your latitude to maximize exposure. Avoid Shaded Areas: Even small amounts of shading can significantly reduce your system's energy output. Trees, chimneys, and even other parts of your roof can cast shadows on your panels. Trim trees or find alternative panel placement to avoid this issue. Tilt and Adjust for Seasons: In some cases, installing adjustable mounts can help you tilt your panels to better capture sunlight throughout the year. In the winter, when the sun is lower in the sky, a steeper tilt will help you absorb more light. 2. Clean Your Panels Regularly Over time, dirt, dust, and debris can accumulate on your solar panels, reducing their ability to absorb sunlight. Regular cleaning is an easy way to ensure your panels are working at their full potential. Use Water and a Soft Brush: To clean your panels, simply use water and a soft brush or sponge to remove dirt. Avoid using harsh chemicals or abrasive materials that could scratch the panels. Check After Storms: After heavy storms, inspect your panels for leaves, bird droppings, or other debris that may have landed on them. Clean as needed to maintain optimal performance. 3. Monitor Your System’s Performance Keeping an eye on your system’s performance can help you spot inefficiencies early. Most modern inverters come with monitoring capabilities that allow you to track energy production and identify potential issues. Invest in a Solar Monitoring System: A solar monitoring system provides real-time data on how much energy your system is producing and whether it's operating as expected. These systems can alert you to problems such as underperforming panels or inverter issues. Track Daily and Monthly Production: By monitoring your system’s performance over time, you can establish a baseline of expected energy production. Any significant drops in output can signal that something needs attention, whether it’s shading, dirty panels, or faulty equipment. 4. Upgrade Your Inverter The inverter is the heart of your solar power system, converting the DC power generated by your panels into usable AC power for your home. If your system isn’t performing as well as expected, your inverter may be the culprit. Consider a More Efficient Inverter: If your current inverter is outdated or low quality, upgrading to a more efficient model could provide a significant boost in energy conversion. At Global Ace Solar, we offer high-efficiency string inverters and microinverters designed to maximize your system’s performance. Install Microinverters for Improved Performance: Microinverters optimize each individual solar panel, which is particularly useful in systems where shading or panel orientation varies. By upgrading to microinverters, you can improve the overall performance of your system, even if some panels are partially shaded. 5. Install a Solar Tracking System Solar tracking systems automatically adjust the angle of your panels to follow the sun’s movement across the sky. This can significantly increase the amount of energy your panels generate, especially if your system is located in an area with ample space. Single-Axis Trackers: These systems adjust the angle of the panels from east to west, following the sun’s path during the day. They are ideal for ground-mounted systems in open areas. Dual-Axis Trackers: These more advanced systems adjust both the tilt and rotation of the panels, allowing them to follow the sun both horizontally and vertically. This provides even greater efficiency but is typically more expensive. 6. Add Battery Storage for Maximum Efficiency If your goal is to maximize your energy independence, adding battery storage to your DIY solar power system is a wise investment. Batteries store excess energy generated during the day for use at night or during periods of low sunlight, ensuring that none of your solar power goes to waste. Select the Right Battery Size: The size of your battery bank should match your energy consumption and the capacity of your solar array. Too small, and you may run out of power quickly; too large, and you may waste money on unused storage. Opt for Lithium-Ion Batteries: Lithium-ion batteries are known for their high efficiency and long lifespan. While they may be more expensive upfront than traditional lead-acid batteries, their superior performance makes them a smart investment for maximizing the efficiency of your solar system. 7. Perform Regular Maintenance Checks Finally, performing regular maintenance checks is key to keeping your DIY solar power system running efficiently. While solar panels themselves require little maintenance, other components like wiring, inverters, and batteries may need occasional attention. Inspect Wiring: Ensure that all wiring connections are tight and free from corrosion. Loose connections or damaged wires can reduce efficiency or even pose a safety hazard. Check Inverter Performance: Make sure your inverter is operating correctly and isn’t showing any error messages. If your system’s performance seems lower than expected, the inverter could be the issue. Maintain Batteries (If Applicable): For systems with battery storage, check your batteries regularly to ensure they’re charging and discharging properly. Replace any failing batteries to maintain overall system efficiency.
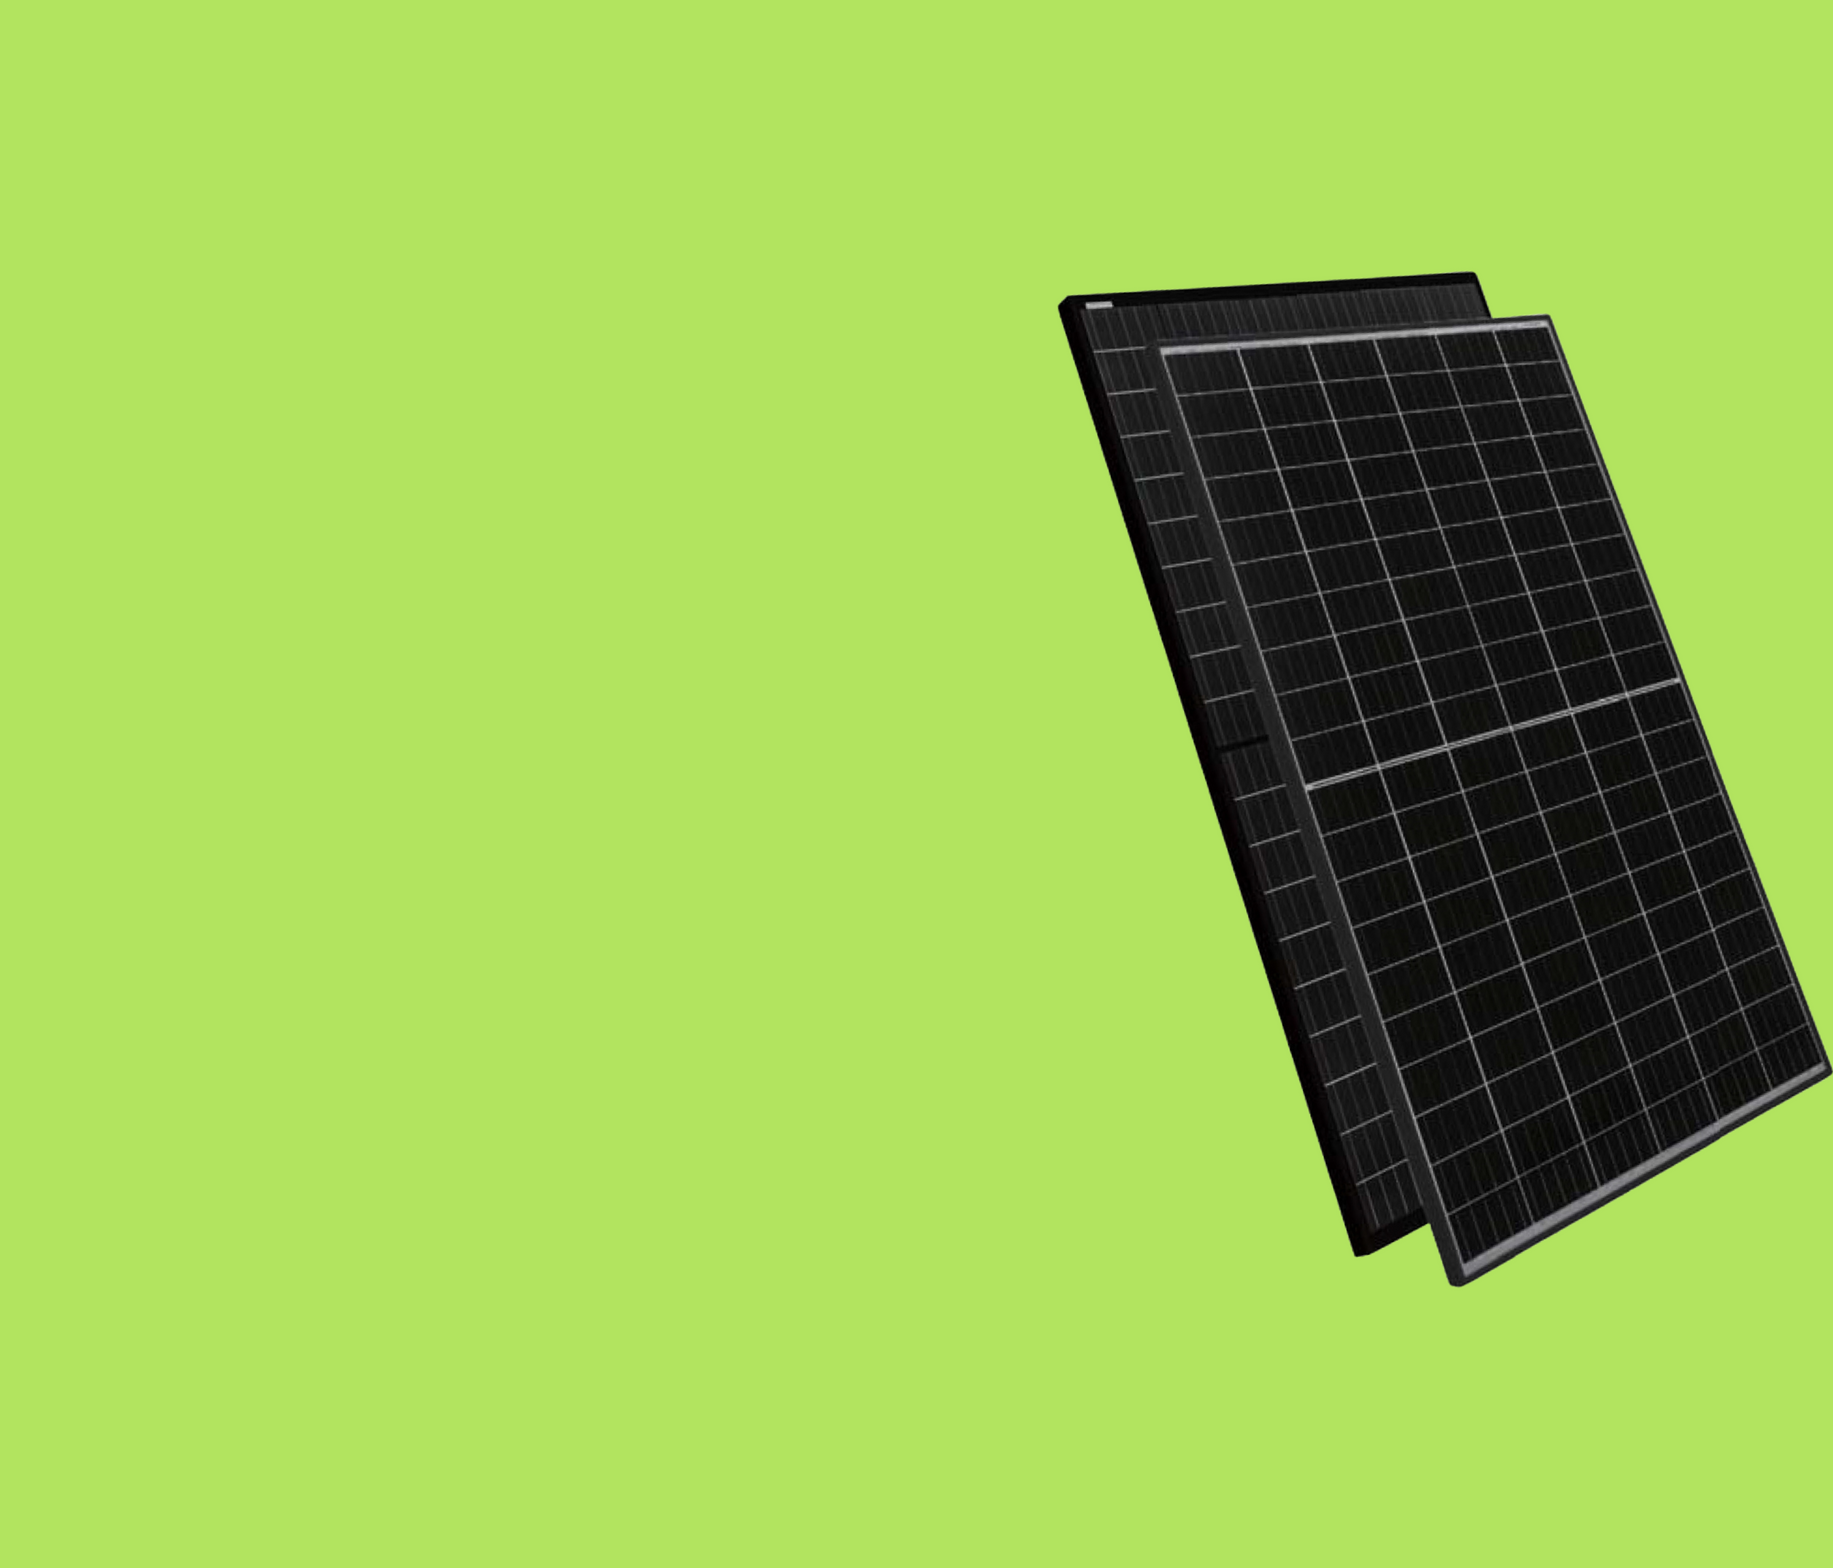
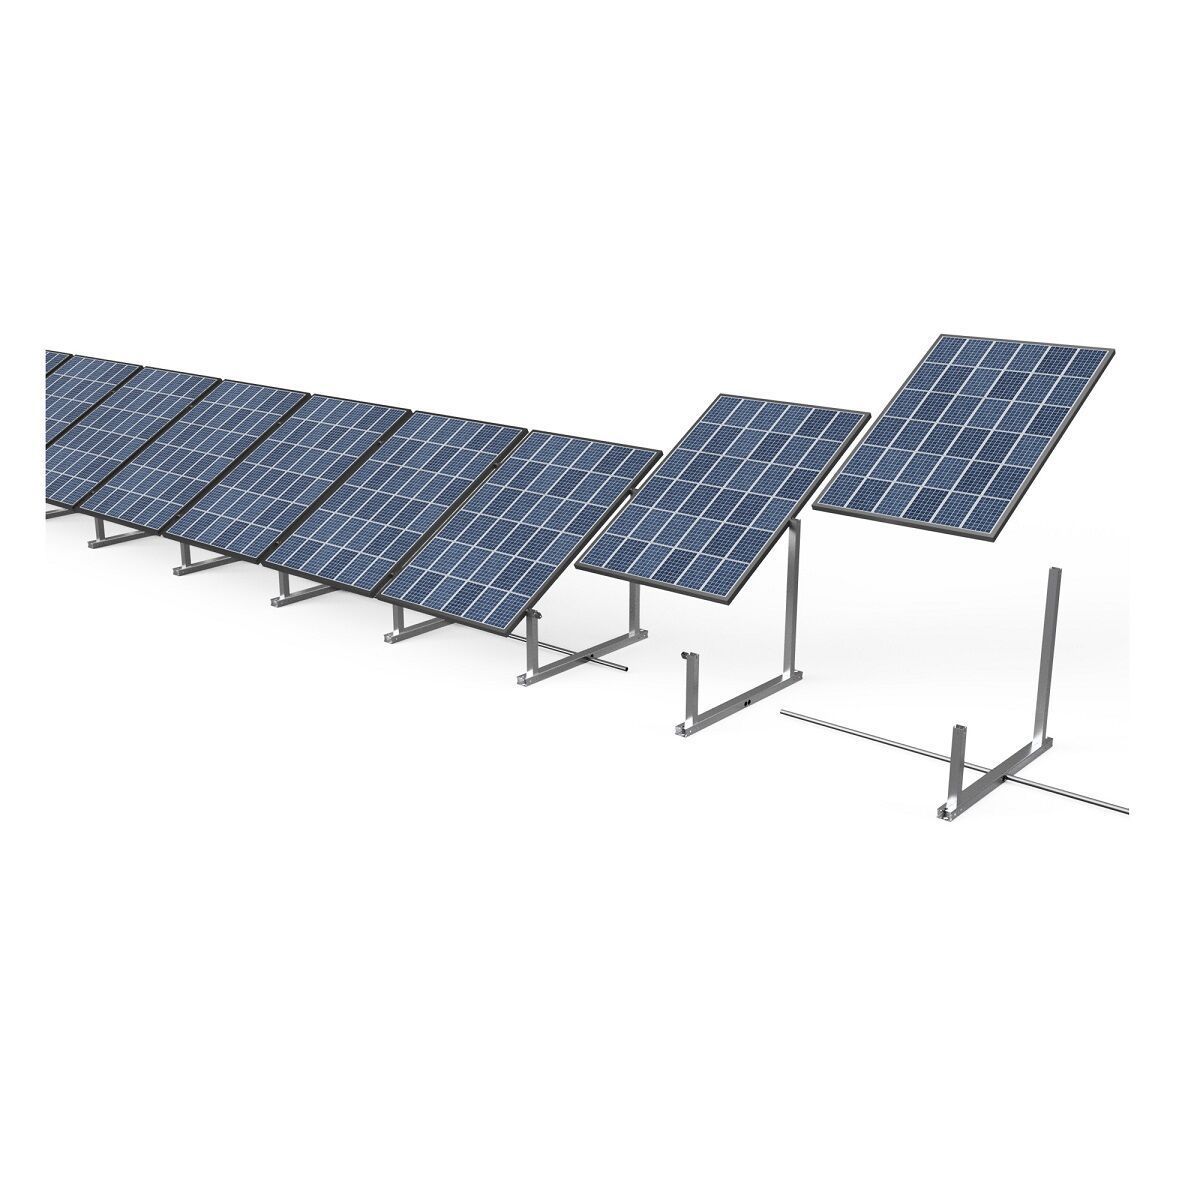
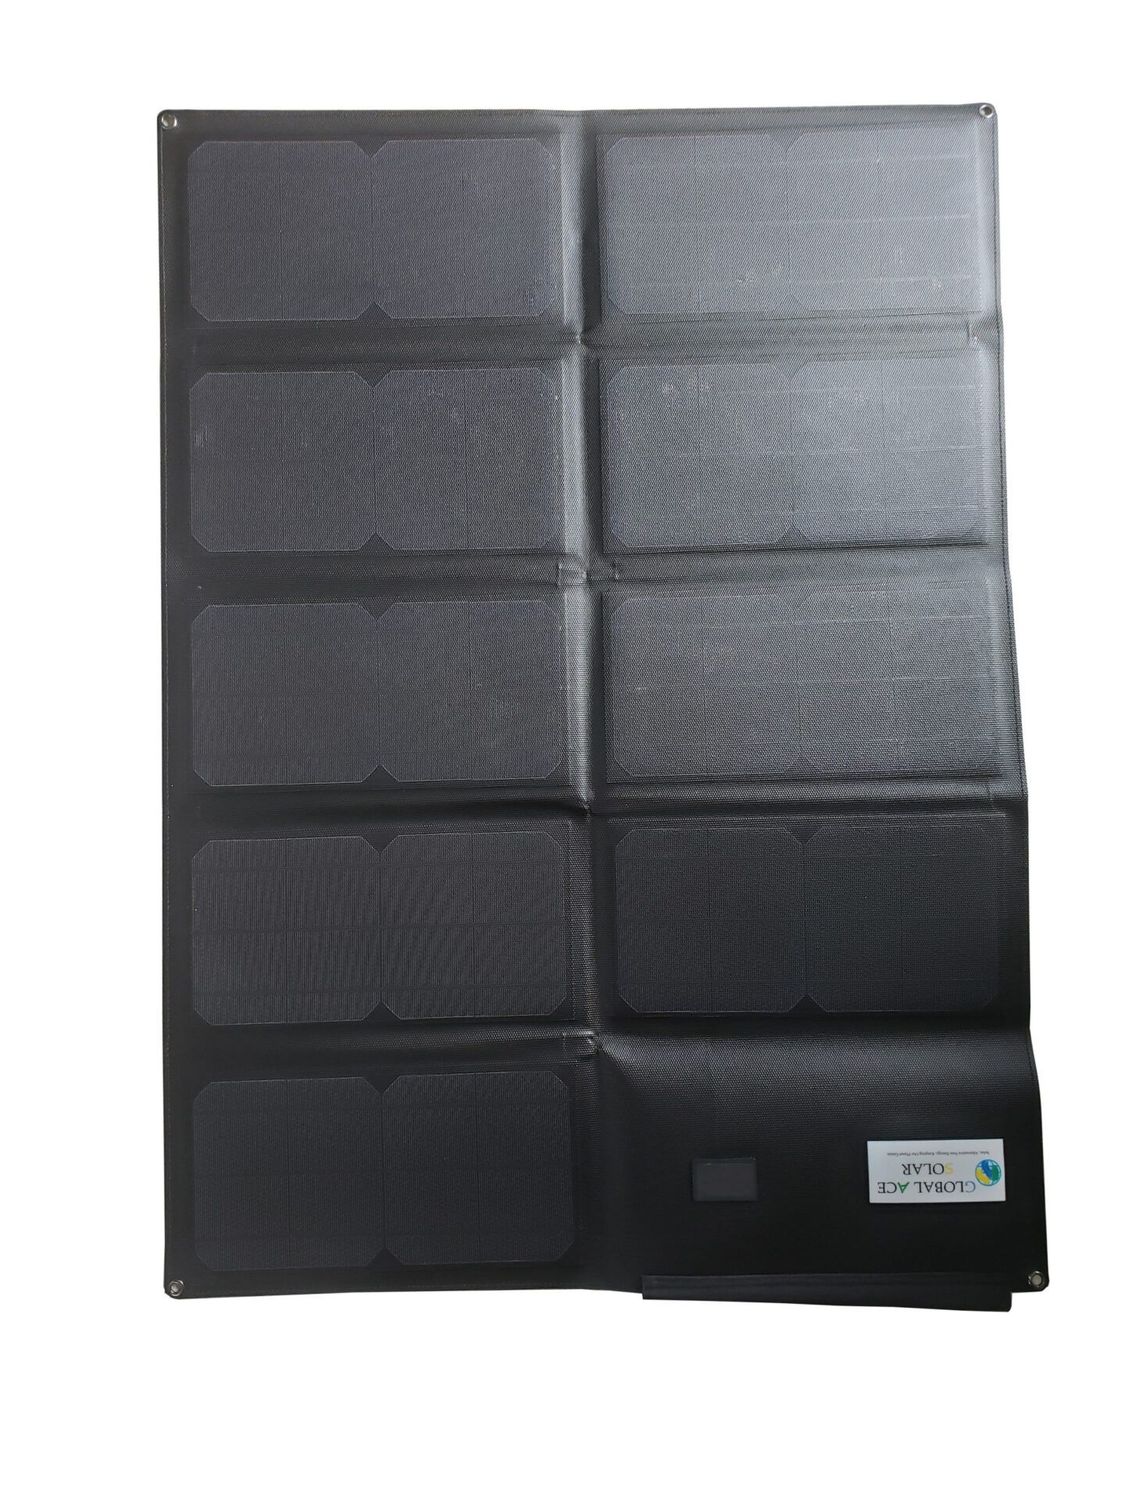
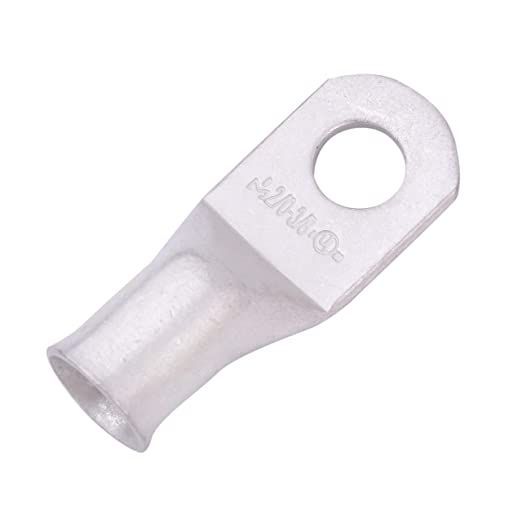
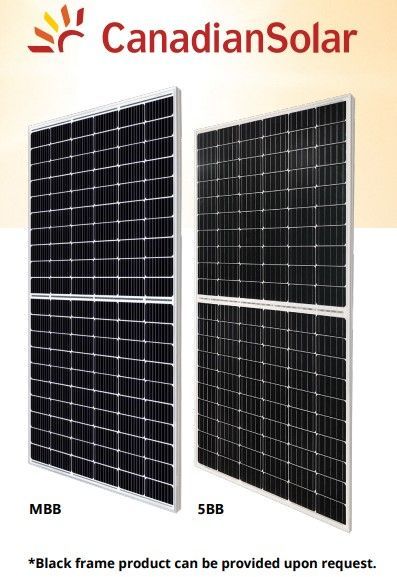
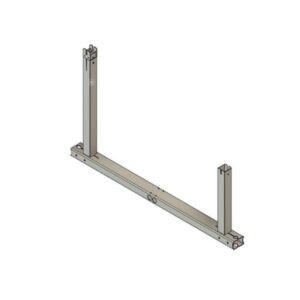
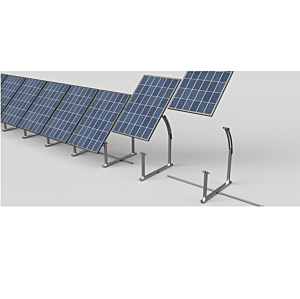
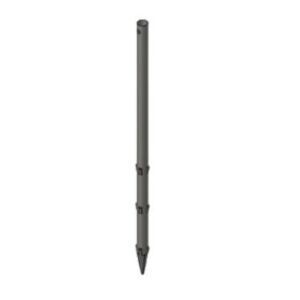
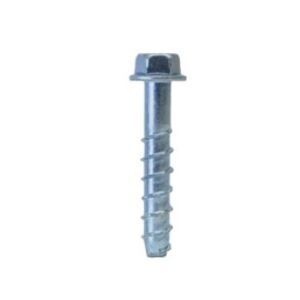
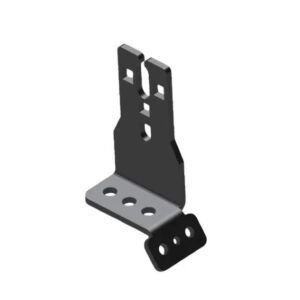
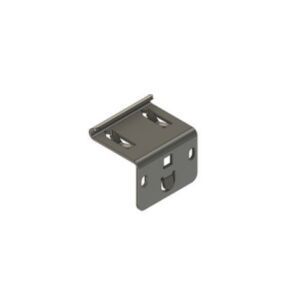
Switching to solar energy is a great way to reduce your electricity costs and lower your carbon footprint. For many homeowners and enthusiasts, setting up a DIY solar power system offers an affordable and rewarding way to harness the power of the sun. This guide will walk you through the basic steps and provide recommendations on what products to use. Step 1: Assess Your Power Needs The first step in setting up a solar power system is to determine how much energy you need to generate. Start by reviewing your electricity bills to get an idea of your monthly consumption in kilowatt-hours (kWh). For smaller projects, such as powering a shed, cabin, or RV, estimate your energy needs by adding up the wattage of the devices and appliances you plan to power. Tools You’ll Need: Kill A Watt Electricity Usage Monitor: This handy tool helps you measure the power consumption of individual devices, so you can calculate your total needs more accurately. Step 2: Select the Right Solar Panel Kit Once you know your energy needs, it’s time to select the right solar panel kit. Solar panel kits typically include panels, an inverter, and mounting hardware. At Global Ace Solar, we recommend starting with a DIY solar kit that’s pre-designed to simplify the process. Recommended Products: Global Ace Solar 100W DIY Solar Kit: Ideal for small off-grid applications like RVs, boats, or cabins. This kit includes everything you need to get started, from panels to connectors. Global Ace Solar 400W DIY Solar Kit: A mid-size kit perfect for sheds, workshops, and partial home power backup. It offers enough wattage for several essential devices. Step 3: Choose the Location You’ll need to pick a location for your solar panels that receives maximum sunlight, typically a south-facing roof or an open ground area with minimal shading. Keep in mind that even a small shadow can greatly reduce the efficiency of your system. If you're using solar panels on the ground, make sure to have a sturdy mount or tracking system to adjust for seasonal changes in the sun’s position. Recommended Products: Adjustable Solar Panel Mounts: These mounts allow you to change the angle of your solar panels throughout the year for optimal sun exposure. Step 4: Install the Panels and Inverter Once your location is selected, mount the solar panels according to the manufacturer's instructions. This step usually involves securing the panels to brackets and wiring them together in series or parallel, depending on your desired voltage. Next, install the inverter, which converts the DC electricity generated by the solar panels into usable AC electricity for your home or devices. You can opt for a simple string inverter or a more flexible microinverter system. Recommended Products: Global Ace Solar String Inverter: A reliable option for beginners, suitable for most residential setups. Enphase Microinverter: These are great for systems where panels may be partially shaded or oriented in different directions, as they optimize the performance of each individual panel. Step 5: Connect the Batteries (Optional) If you want to store excess energy for use at night or during cloudy weather, adding a battery bank to your system is a smart idea. Batteries store the DC power produced by the panels and release it when needed. Be sure to size your battery bank to match your energy consumption and solar array size. Recommended Products: Lithium-Ion Battery Banks: Known for their efficiency and longevity, these batteries are great for DIY solar systems. Global Ace Solar offers several capacities to suit your needs. Step 6: Connect the System to Your Home If you’re connecting your DIY solar power system to your home’s electrical grid, you may need the assistance of a licensed electrician to install a transfer switch and meter. This step ensures that your home can draw power from both the solar system and the grid safely. Additionally, if you produce more energy than you consume, you might be eligible for net metering, which allows you to sell excess energy back to the grid. Step 7: Monitor and Maintain Your System Finally, keep track of your system’s performance using a monitoring device or app. Most inverters come with built-in monitoring, so you can see how much energy your system is producing at any time. Regular maintenance, such as cleaning your panels and checking for shading, will ensure your system continues to operate efficiently. Recommended Products: Solar Monitoring System: Easily track energy production, panel performance, and battery status from your smartphone.